
Last updated November 22, 2026
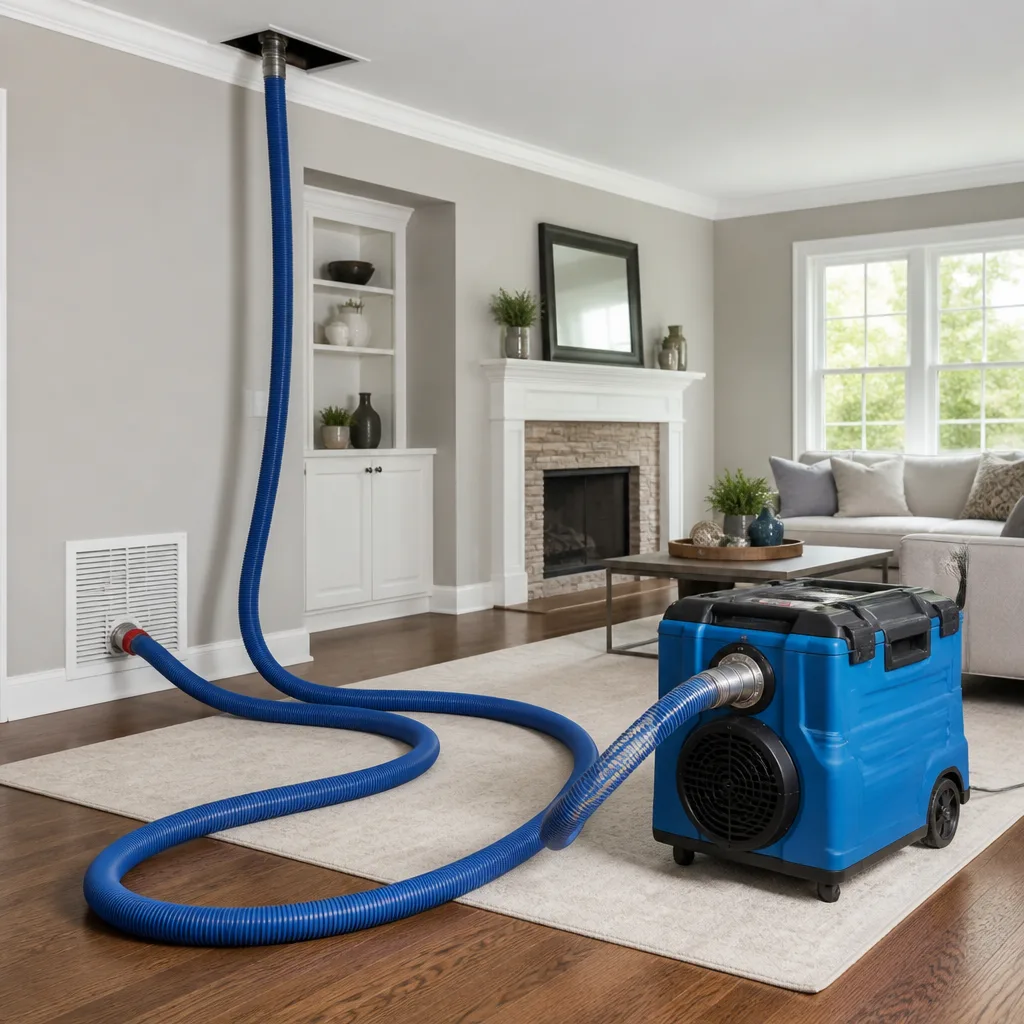 Whole-home duct cleaning
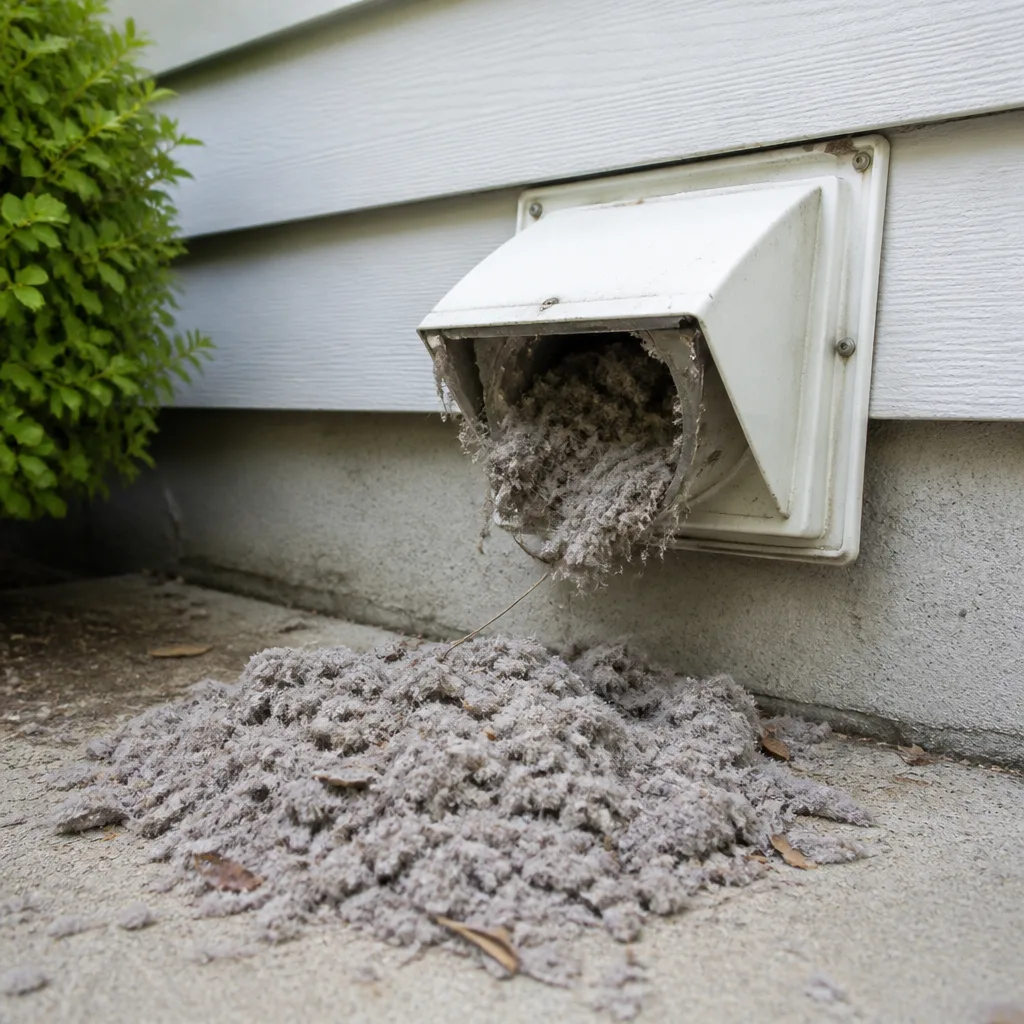 Dryer vent cleaning
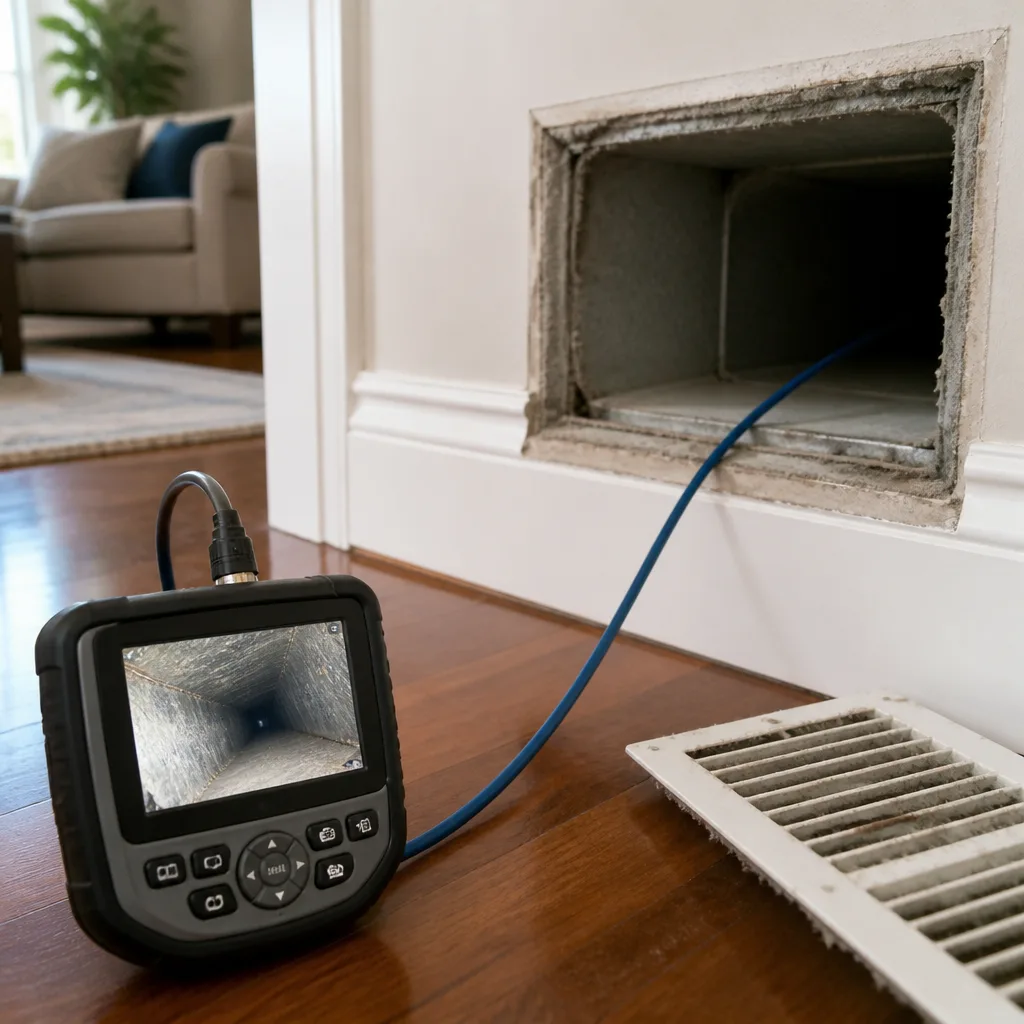 Camera inspection
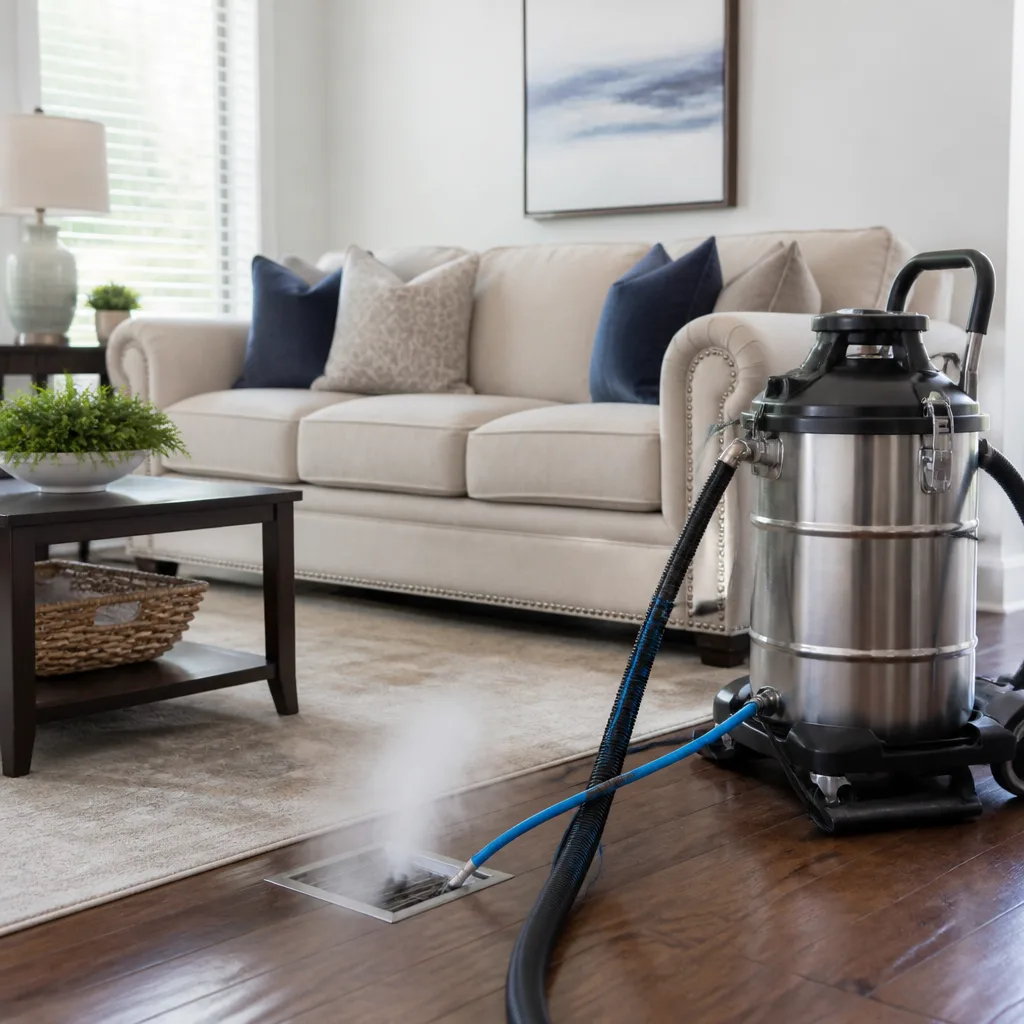 Sanitizing & deodorizing
Whole-system duct and dryer vent check with before-and-after photos - you see exactly what came out of your vents
That "$99 whole-house special" is a bait ad - the real number appears once they are in your hallway, or the "clean" is a shop-vac at the register. We photograph the inside of your ducts before and after instead.
Air Duct Cleaning Troubleshooting in Inwood: Common Problems and How to Fix Them
If one room in your apartment is always hotter or colder than the rest, your ducts probably don’t need cleaning. They likely need a physical inspection for a disconnected joint or a crushed flex run. That’s the part of duct work most homeowners skip past, because the internet tells you every symptom points to dirt. In our experience, the opposite is more often true. Debris buildup is real, but it’s rarely what makes a room behave differently from the rest of the house. This guide is about reading the symptoms correctly before you call anyone in Inwood.
Quick Answer
Most airflow problems people blame on dirty ducts come from mechanical faults: a disconnected section, collapsed flex duct, or a damper stuck in the wrong position. Cleaning a structurally compromised system produces temporary results at best, because the leak or crush re-contaminates the pathway within weeks. The fix order is inspect, diagnose, repair or seal, then clean. Skip the first three and you’re paying to redo the last one.
Styles & brands we work with
- Whole-home duct cleaning
- Dryer vent cleaning
- Camera inspection
- Sanitizing & deodorizing
Table of Contents
- Debris Buildup vs. Structural Failure: How to Tell the Difference
- What Persistent Musty Odors Actually Tell You
- Reading Uneven Room Pressure and Damper Position
- Visual Checks You Can Do at Your Registers and Return Grilles
- Why Cleaning Before Sealing Produces Temporary Results
- What Makes Duct Troubleshooting in Inwood Different
- What Professional-Grade Equipment Actually Changes
- When to Call a Professional
Debris Buildup vs. Structural Failure: How to Tell the Difference
Debris buildup produces a broad, gradual decline in airflow across the whole system. A structural failure produces an uneven one, and that difference is the single most useful diagnostic clue you have. Here’s how the two categories break down.
Signs you’re dealing with debris:
- All rooms feel a bit weaker than they used to, not just one
- Visible dust collecting on the supply register fins across multiple rooms
- A musty or dusty smell the first time the system runs after a long idle stretch
- More dust settling on furniture right after the HVAC cycles on
Signs you’re dealing with structure:
- One or two rooms are consistently off while the rest work fine
- Whistling, chirping, or a hiss at a specific register
- Airflow drops sharply when a particular nearby interior door closes
- A room that was fine last year now gets no measurable air at all
Both categories can coexist, and that’s where things get expensive. A pre-1980s home with original galvanized trunk lines and tapped flex branches often has both a debris load in the trunk and one or two crushed flex runs behind a finished wall. Cleaning the trunk without finding the crushed run leaves the room cold and the customer frustrated. That’s the failure mode we try to eliminate with a proper inspection before any equipment comes out of the van.
The other thing worth knowing is that flex duct is the usual suspect. It’s cheap, fast to install, and easy to crush. A single footstep in an attic or a poorly placed pipe strap can reduce a 6-inch flex run to something closer to a 2-inch gap, and no amount of blowing air through it will bring the room back. You need someone to physically look at the run. That’s not what most cleaning quotes include.
What Persistent Musty Odors Actually Tell You
A musty smell the first time the system kicks on after idle months is normal and usually just organic dust in the airstream. A musty smell that never goes away, or that shows up every afternoon, points to something living in the air pathway. The job is to find where, because the fix differs sharply depending on whether it’s inside the ducts, on the cooling coil, or in the drain pan.
Here’s the triage order:
- Smell that spikes only when the AC runs and fades when it’s off. The source is almost certainly the evaporator coil or the interior of the air handler. That’s a microbial growth problem in a damp spot, and cleaning the ducts alone won’t fix it because the growth keeps producing spores.
- Smell that’s constant and strongest near a specific register. The source is likely inside that duct branch, often where a flex run has been quietly weeping condensation or touching a wet surface. That needs the run pulled and inspected, not just vacuumed.
- Smell that rises from the air handler closet floor. The drain pan isn’t emptying properly, and standing water is growing something. That’s an HVAC issue, not a duct issue, and it’s urgent because it also puts the blower motor at risk.
- Smell that’s strongest in the basement or utility area near an old return. Return ducts in older buildings pull from interior spaces and can accumulate decades of dust and moisture in ways supply ducts don’t.
In Inwood’s older multifamily stock, a musty smell on the neighbor side of a shared wall or above a shared ceiling isn’t unusual, and it points to one more possibility: a leak from a neighboring unit or a plumbing line passing through the duct chase. If the odor is tied to rain or to a neighbor’s laundry schedule, that’s water, and no amount of cleaning will stop it until the moisture source is found.
Once we’ve identified the location, the right treatment is a combination of mechanical removal and, where microbial growth is confirmed, a sanitizing step using a Guardsman-grade product applied to clean surfaces. Sanitizer on top of a dirty surface is wasted product. Order matters.
Reading Uneven Room Pressure and Damper Position
Uneven pressure is the most misread symptom in residential HVAC. When one room pushes air and another hesitates, the question isn’t always about dirt. It’s often about where the air is supposed to go and where it’s actually leaking out.
Try this test. Close the door of the room in question and put the back of your hand near the gap under the door. If you feel strong pressure pushing the door, that room is being overfed and can’t return air. If you feel suction and the room stays cold in winter (or warm in summer), the room is being starved. In either case, the duct serving that room is doing something the rest of the system isn’t accounting for.
Common causes, roughly in order of frequency:
- A balancing damper in the branch serving that room is choked nearly closed
- The room’s return is too small or missing entirely
- Duct leakage somewhere between the trunk and the register is bypassing airflow into the wall cavity
- A flex run has partially separated at the boot behind the drywall
The damper cause is the cheapest to fix and the easiest to miss. A balancing damper is a metal flap inside the duct, usually near the trunk takeoff, with a lever on the outside. Someone, at some point, may have adjusted it for a reason that no longer applies (a furniture arrangement, an old remodel, a preference from a previous owner). Checking the levers before calling anyone is worth ten minutes.
If the levers are all open and the room still misbehaves, that’s when the airflow story gets mechanical. A duct can read as connected from the register side and be fully disconnected five feet back. Aerodynamic readings and pressure probes tell you the truth there, and that’s why we carry proper diagnostic gear on HVAC cleaning calls rather than just a vacuum.
Visual Checks You Can Do at Your Registers and Return Grilles
Before spending anything on a professional visit, you can gather a lot of information yourself from a step stool and a flashlight. None of these checks require opening the system, and each one triages the problem into a category.
- Pop the supply register cover off. Look inside with the flashlight. You should see a smooth metal or flex interior. Visible dust coating doesn’t rule out a cleaning, but heavy matting or a soft, sticky film inside the branch is a strong sign of moisture.
- Check the boot-to-drywall joint. The metal boot should be sealed to the wall with a visible bead of mastic or a tight mechanical connection. A gap, a torn section of tape, or a hole where the drywall has pulled away means that register is dumping air into the cavity, not the room.
- Do the tissue test. Hold a single ply of toilet tissue near the register while the system runs. It should flap strongly and consistently. If it flutters weakly, the branch is either restricted or leaking upstream.
- Look at the return grille filter (if you have one). A return filter that’s clogged, or worse, missing, changes the story completely. A missing return filter sends unfiltered return air through the blower and coats the coil in dust.
- Check every register for uniform grime. If all registers are equally dusty, that’s normal buildup. If one register is dramatically dirtier than the rest, that branch is pulling air from a dirty source or has a leak that’s drawing from the wall cavity.
- Smell test each room. Breathe in slowly at each register while the system runs. Note which rooms smell different. That’s your map of where to investigate.
Inwood’s walk-up buildings on the steep streets near the park often have supply runs that were added or rerouted after the fact, so register patterns don’t always match the floor plan. A register that seems useless might actually be fed by a branch that runs through an adjacent unit’s ceiling cavity, which changes how a diagnostic visit needs to look. Note anything unusual on paper before you call.
What you’re looking for at this stage is triage, not diagnosis. Note the pattern, note which rooms are off, note which registers smell, and note whether the problem is broad or narrow. That note will help whoever shows up work faster.
Why Cleaning Before Sealing Produces Temporary Results
Cleaning a duct system with an unknown breach is the single most common source of “I just had this done and it’s already dirty again” complaints we hear. The mechanism is straightforward. A professional-grade negative-pressure setup pulls loose debris out of the system while holding it under contained suction. But a disconnected joint or a crushed section acts as a fresh entry point for wall cavity air, attic air, or basement air. The moment the vacuum is turned off, soot and fiberglass from the cavity start migrating back into the clean duct.
The right order of operations for a compromised system is:
- Inspect. Camera and visual, looking specifically for disconnections, crushed runs, torn flex, and unsealed boots.
- Repair. Reconnect, replace the crushed run, replace failed flex, and seal the boot-to-wall joint with mastic, not tape.
- Seal. Any remaining leakage at the trunk or plenum is sealed so the system stops losing pressure where it shouldn’t.
- Clean. Only now does cleaning produce results that hold, because the airstream no longer contacts unfiltered cavity air.
- Verify. A visual check after cleaning, ideally with before-and-after documentation, so you can see the difference in your own system rather than take anyone’s word for it.
This is the reason our service list includes duct repair and sealing as a named service rather than an upsell. If the system has a breach, cleaning without sealing produces a cleaner duct that gets dirty again quickly. That serves nobody.
The scope of a reseal job varies. A single boot-to-drywall gap is a small repair. A crushed flex run behind a finished wall may need a drywall cut and patch to reach. In a prewar apartment on one of Inwood’s hill streets, that patching is usually the bigger labor line, not the duct work itself, and it’s worth knowing before you approve a quote.
What Makes Duct Troubleshooting in Inwood Different
Inwood’s housing stock splits into a few groups that each behave differently under duct troubleshooting. Knowing which category your building falls into helps you predict what a technician is likely to find.
Pre-war walk-ups. Original radiator or gravity systems, often retrofitted with forced air long after construction. Duct routes are improvised, runs are long, and the supply trunk frequently shares a cavity with plumbing stacks. Moisture intrusion from plumbing is a real risk, and a musty smell in these buildings needs to be checked against plumbing activity before assuming ducts.
Mid-century multifamily. Galvanized trunk lines with tapped flex branches. Flex runs from this era are frequently crushed, kinked, or disconnected at the plenum. The good news: the trunk is often reachable, so repairs are less invasive than they sound. The bad news: the same trunk is often used by multiple units, so a repair in one unit sometimes needs a conversation with the building.
Renovated units. Drywall and cabinet changes that were installed without regard to duct routing. A common finding is a return that was boxed in during a kitchen remodel, quietly suffocating half the unit’s airflow. Fixing that requires removing a section of finish material to reach the duct, and homeowners should be told that before work begins.
Top-floor units. Ducts that run through attic or roof spaces in Inwood get hot in summer and cold in winter, which means condensation risk and higher humidity in the duct interior during the cooling season. That’s often what’s behind a persistent smell that only shows up in the hot months.
None of this changes the underlying method. What it changes is the expectation. A diagnostic visit in Inwood usually includes some inspection of building structure and utility routing, not just the ducts themselves.
What Professional-Grade Equipment Actually Changes
Equipment matters most in the diagnostic stage, not just the cleaning stage. A consumer shop-vac rig can pull surface dust out of a register box. It can’t hold a duct under negative pressure while you inspect it, and it can’t sense the pressure drop that reveals a leak. That’s why the equipment on the job matters before anyone decides to clean.
The tools we use on Inwood jobs include Rotobrush systems for the mechanical scrubbing pass inside the ducts, Nikro vacuums for the extraction side, and Abatement Technologies equipment for containment, so debris doesn’t redistribute through the unit while we work. On the air quality side, Guardsman-grade sanitizing is applied after cleaning when microbial growth is confirmed. On the accessory side, we work with Honeywell and Aprilaire products, so the thermostat and filtration platforms already in your system stay compatible with what we install.
The practical difference to you is this. A cleaning-only quote from a shop-vac setup often takes the surface debris off and calls it done. A full-pathway job includes inspection, repair, sealing, cleaning, sanitizing where needed, and a visual verification before we leave, using equipment that can actually reach and hold the airstream. If the diagnostic reveals a mechanical problem, the estimate changes to include the repair. That’s the right order, and it’s the one that produces results that hold.
Our technicians have up to 8 years of experience with this equipment. That matters most on the diagnostic side, where the difference between “just needs a cleaning” and “needs a repair first” is a judgment call built on seeing a lot of ducts in a lot of buildings.
See the difference
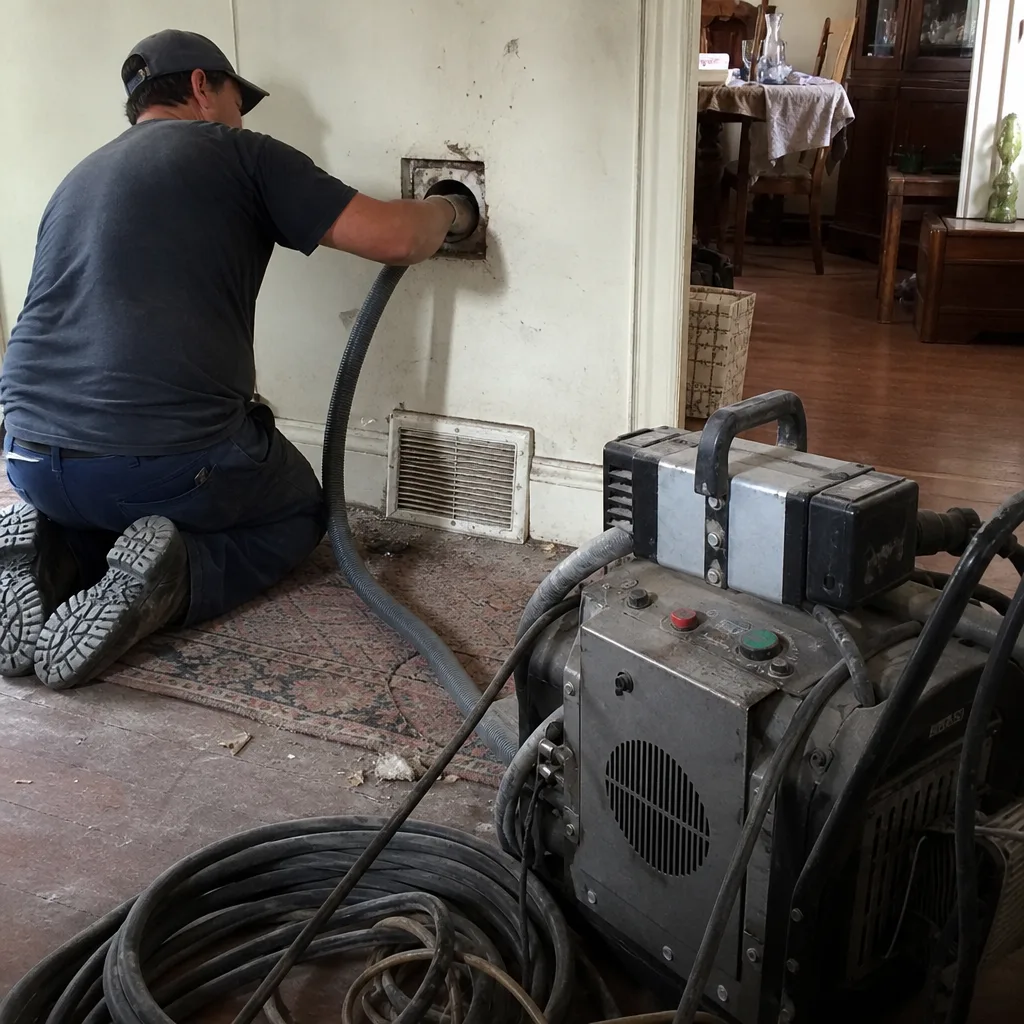 Before
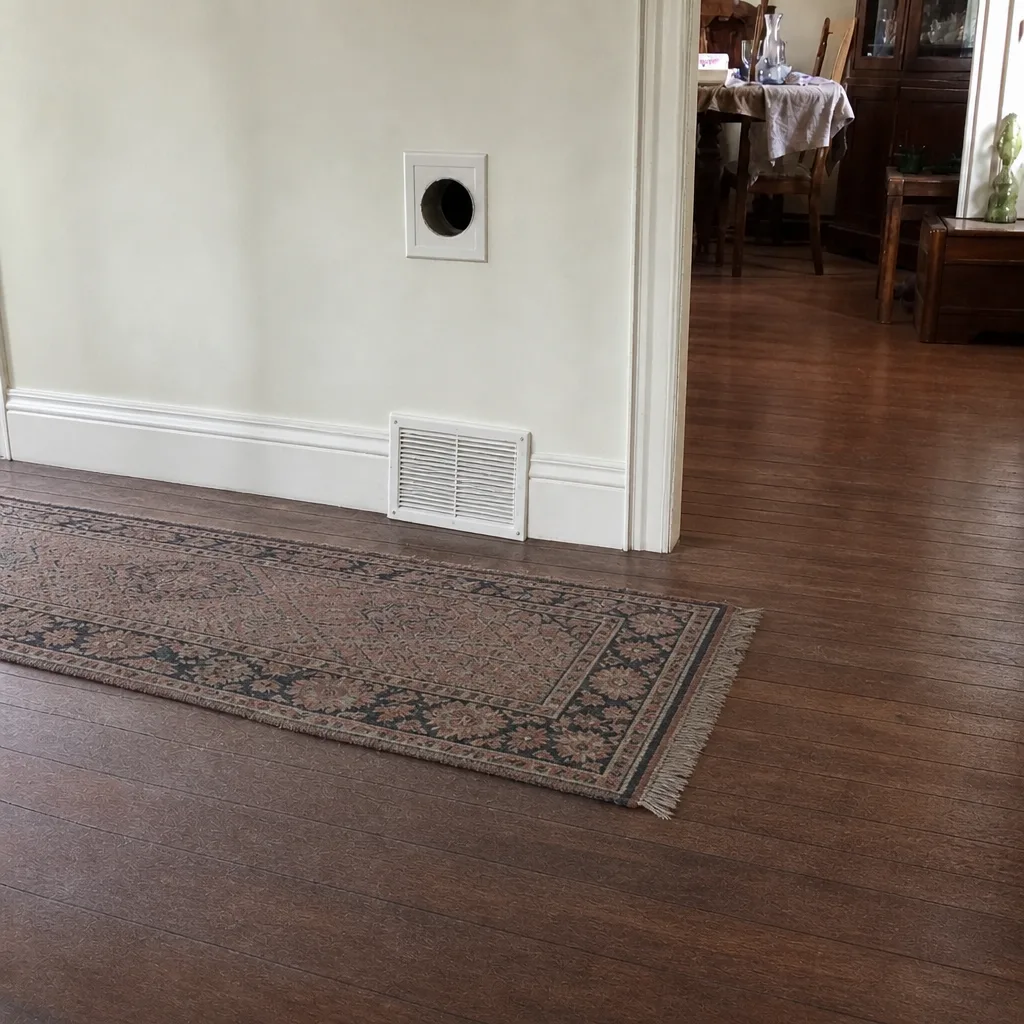 After
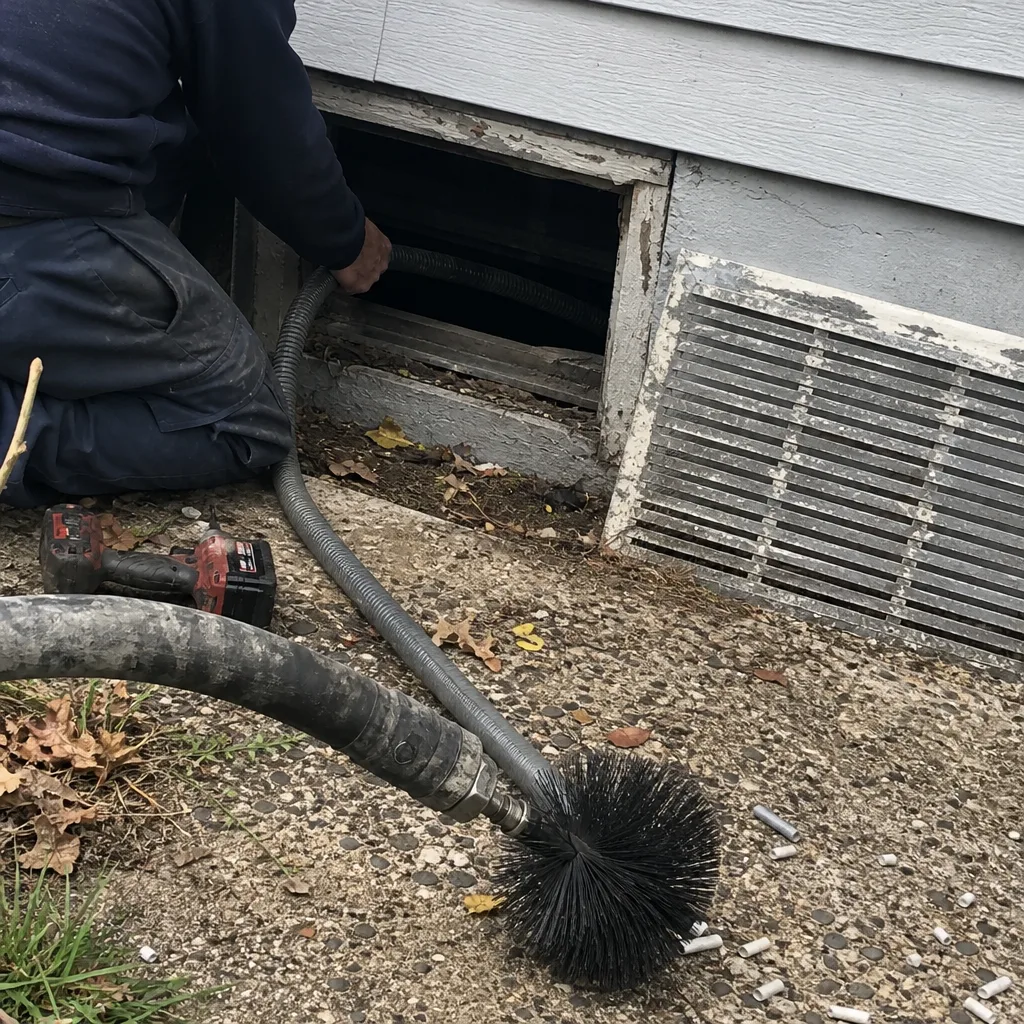 Before
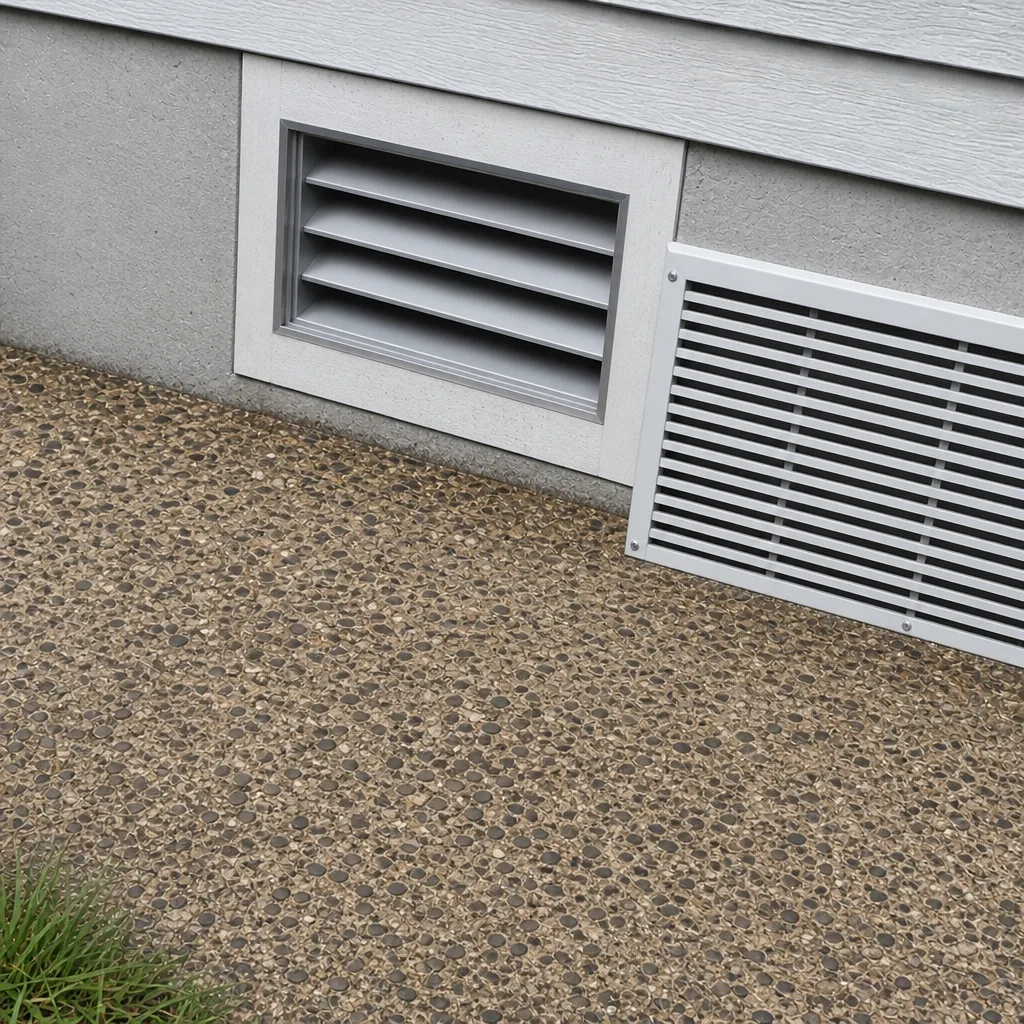 After
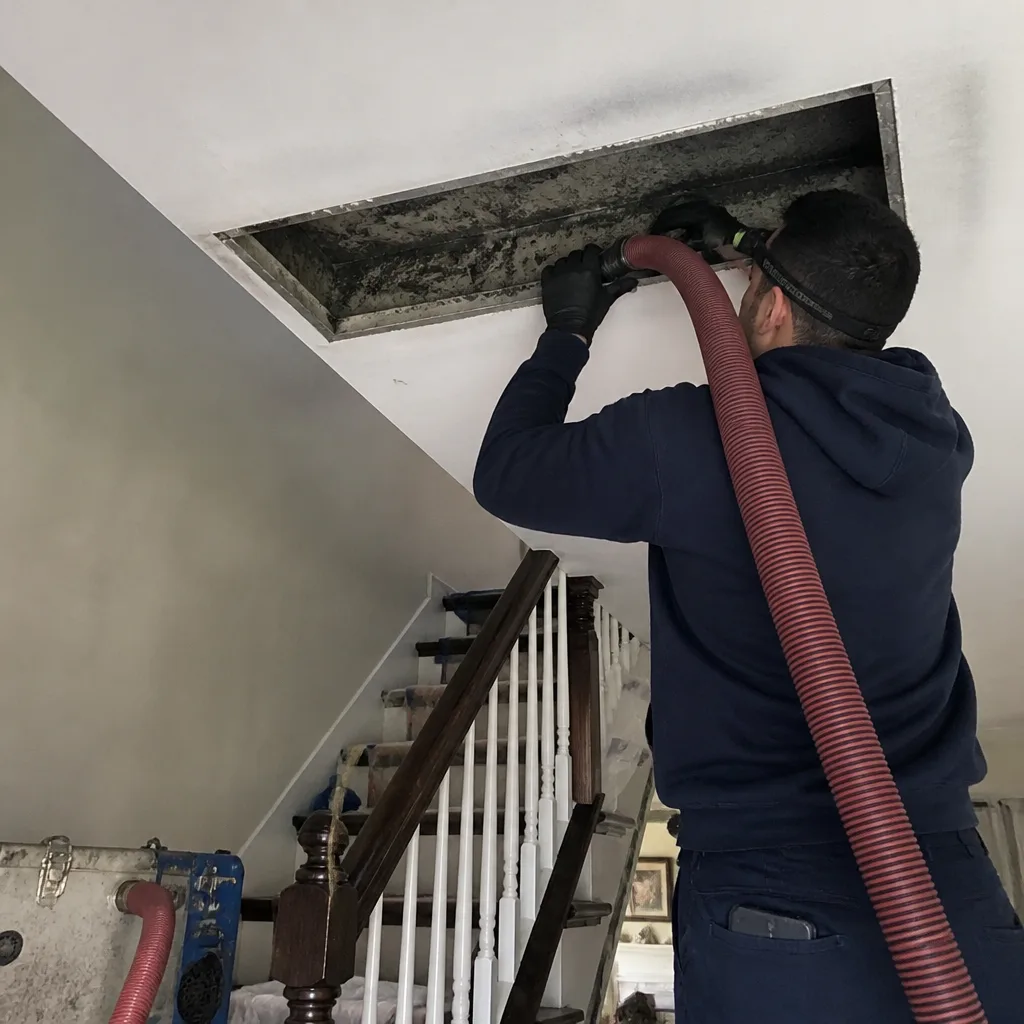 Before
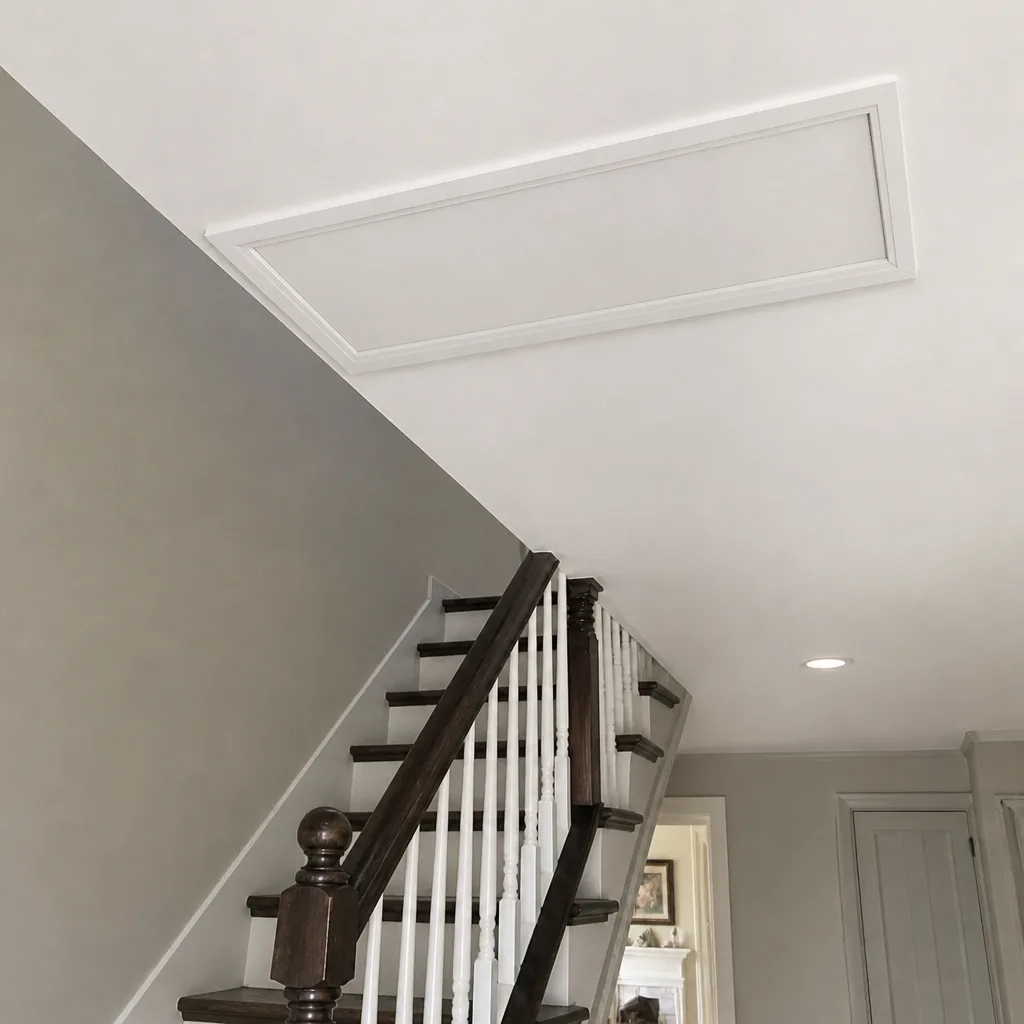 After
Common Mistakes to Avoid
- Cleaning before diagnosing. Booking a cleaning before anyone has looked for disconnections or crushed runs is the fastest way to spend money on a temporary result. Diagnose first, then decide.
- Assuming “all rooms are weak” means debris. A whole-system weakness usually points to a return-side problem or a blower issue, not dirty ducts. Don’t clean the ducts to fix a return that’s collapsing under negative pressure.
- Ignoring a musty smell that fades. If it fades after a few minutes, it’s organic dust. If it doesn’t fade, or keeps coming back, it’s growth. Get it looked at before it spreads through the whole pathway.
- Sealing registers with tape instead of mastic. Tape fails at temperature swings. In Inwood’s older wall cavities, a taped seam at the boot is a temporary patch at best.
- Replacing flex with the same crushed size. Running a new 6-inch flex on the same crushed path achieves nothing. The route needs to change, not just the material.
- Skipping the return side. A cleaning that only addresses supply registers leaves half the system untouched. Return ducts in older Inwood units often carry the heavier load.
- Treating sanitizing as the first step. Sanitizing a dirty duct seals contamination in place. Clean mechanically first, then sanitize only if growth is confirmed.
- Hiring a cleaning without a visual before/after. Any job worth doing is worth photographing. Before-and-after images of your own ducts are how you know the work actually happened.
When to Call a Professional
Call a professional when the symptoms point to more than dirt. That includes a room that’s consistently off while others work, a persistent musty smell, visible moisture inside a register, whistling at a specific vent, or a system that hasn’t been touched in years and sits in an old building with unknown routing. Those scenarios need inspection, and often repair, before cleaning. Attempting any of it yourself carries real risk, particularly where the air handler or electrical components are involved.
Call us at (855) 974-7305 for a free estimate. Our team sees these systems in Inwood regularly and can walk through what’s likely going on before anyone commits to a scope of work. Fast dispatch from 7am to 7pm, Sunday through Friday. We answer 24/7 for scheduling.
Frequently Asked Questions
If the problem is broad and gradual across the whole house, cleaning is more likely the answer. If one room is dramatically off while others work fine, or if you hear whistling or hissing at a specific register, the system has a mechanical issue that cleaning won’t fix. Inspect first, then clean.
The odor source is probably not in the ducts themselves. It’s usually the evaporator coil, the drain pan, or a specific branch that’s trapped moisture. Cleaning removes debris but doesn’t stop microbial growth at its source. Locate the source first, then treat it.
You can remove surface dust at the register, but you can’t hold the system under negative pressure, inspect for internal breaches, or verify that debris has been fully extracted. Shop-vac work also redistributes fine dust into the living space. For any system with a suspected mechanical problem, use a professional.
That pattern strongly suggests a crushed flex run, a damper that’s choked shut, or a disconnected joint serving that specific room. Inwood’s older multifamily buildings often have improvised duct routes where the branch running to that room passes through a cavity that’s been disturbed by later work. A visual check at the register plus a pressure reading will usually locate it.
Yes, if the inspection finds a breach. Cleaning a duct with a breach pulls unfiltered cavity air straight back into the clean duct as soon as the vacuum switches off. Sealing before cleaning is the order that produces results that last longer than a few weeks.
Cleaning is always the mechanical step. Sanitizing only makes sense when microbial growth is confirmed inside the duct pathway, and only after the surfaces have been cleaned. Sanitizing a dirty surface wastes the product and locks contamination in place.
The Bottom Line
Most duct problems people blame on dirt are mechanical. A disconnected joint, a crushed flex run, or a stuck damper changes airflow in ways cleaning can’t touch. Read the symptoms first. Broad and gradual is usually debris. Narrow and specific is usually structure. Persistently musty is usually moisture, and moisture points at a location, not a category. That map is what you bring to any conversation about the system, and it’s the only reliable way to get an honest scope of work. The right sequence is inspect, repair, seal, then clean, and only then judge the result.
If you’re in Inwood and the symptoms don’t match a simple cleaning, we’d rather diagnose it properly than sell you a service that won’t hold. Call (855) 974-7305 for a free estimate and we’ll walk through what’s likely going on. We answer 24/7. Fast dispatch from 7am to 7pm, Sunday through Friday.
Written by the team at Air Duct Cleaning Inwood.